How to Install Kali Linux to Easy way:-
What is the Kali Linux?
Kali Linux is a Debian-based open-source operating system that is specifically designed for digital forensics, penetration testing, and security auditing. It is one of the most popular and widely used penetration testing platforms, with a large community of users and contributors. Kali Linux comes pre-installed with a wide range of security and penetration testing tools, making it easy for security professionals and ethical hackers to conduct various types of assessments and tests. It is often used to identify vulnerabilities in networks, systems, and applications, as well as to develop and test security solutions.
System Requirement:
The installation requirements for Kali Linux will vary depending on what you would like to install and your setup. For system requirements:
- On the low end, you can set up Kali Linux as a basic Secure Shell (SSH) server with no desktop, using as little as 128 MB of RAM (512 MB recommended) and 2 GB of disk space.
- On the higher end, if you opt to install the default Xfce4 desktop and the kali-linux-default metapackage, you should really aim for at least 2 GB of RAM and 20 GB of disk space.
- When using resource-intensive applications, such as Burp Suite, they recommend at least 8 GB of RAM (and even more if it is a large web application!) or using simultaneous programs at the same time.
Installation Prerequisites:
- Download the Kali Linux ISO image from the official website.
- Burn the ISO image to a DVD or USB drive.
- Boot your computer from the DVD or USB drive.
- CD/DVD drive / USB boot support.
- Single disk to install to.
- Connected to a network (with DHCP & DNS enabled) which has outbound Internet access.
- Backup any important information on the device to an external media.
Kali Linux Installation :
After Boot process-
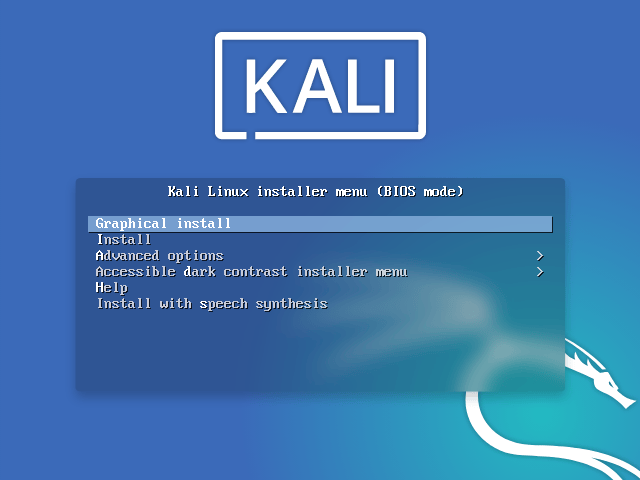
- To start your installation, boot with your chosen installation medium. You should be greeted with the Kali Linux Boot screen. Choose either Graphical install or Install (Text-Mode). In this example, we chose the Graphical install.
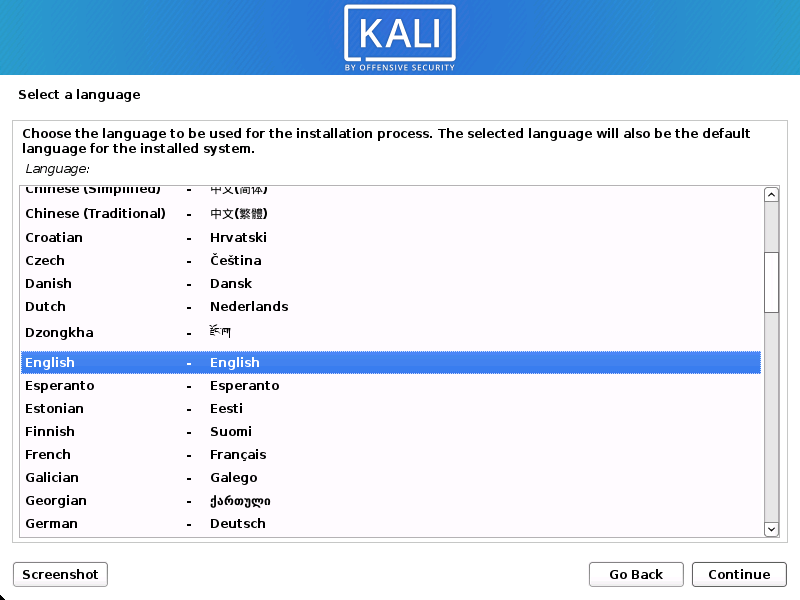
2. Select your preferred language. This will be used for both the setup process and once you are using Kali Linux.
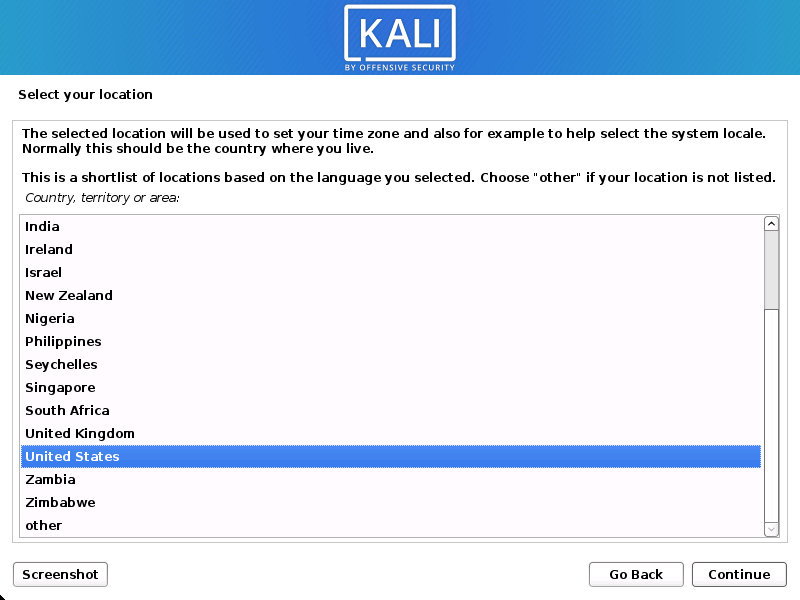
3. Select your Specify geographic location.
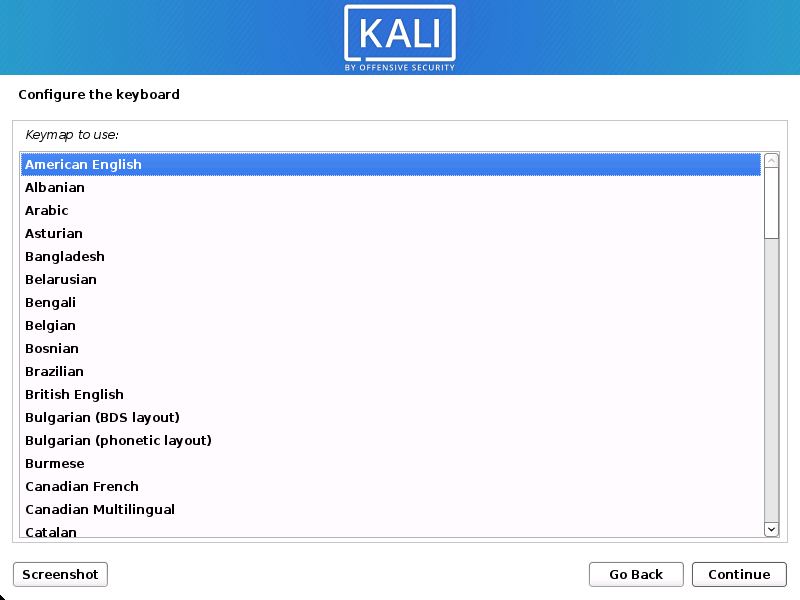
4. Select your keyboard layout.
Network Setup
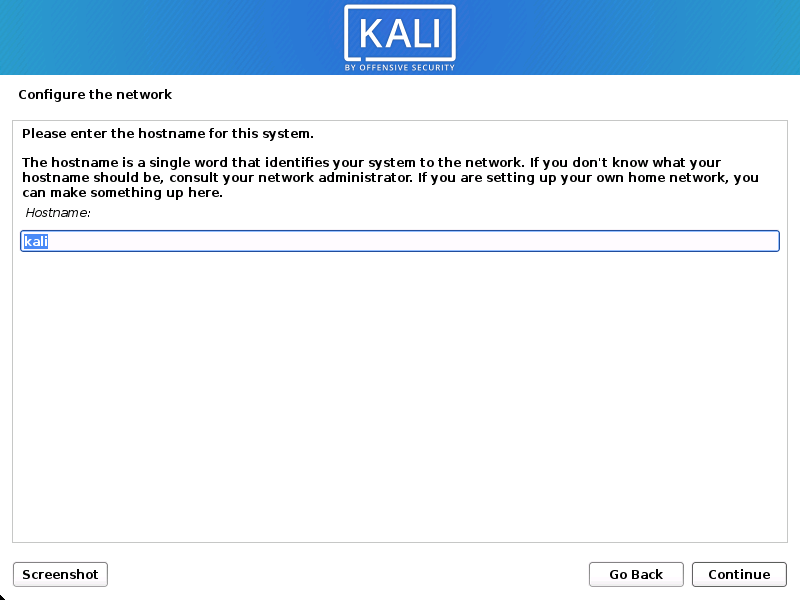
- The setup will now probe your network interfaces, looks for a DHCP service, and then prompt you to enter a hostname for your system. In the example below, we’ve entered kali as our hostname.
- If there is no network access with DHCP service detected, you may need to manually configure the network information or do not configure the network at this time.
- If there isn’t a DHCP service running on the network, it will ask you to manually enter the network information after probing for network interfaces, or you can skip.
- If Kali Linux doesn’t detect your NIC, you either need to include the drivers for it when prompted, or generate a custom Kali Linux ISO with them pre-included.
- If the setup detects multiple NICs, it may prompt you which one to use for the install.
- If the chosen NIC is 802.11 based, you will be asked for your wireless network information before being prompted for a hostname.
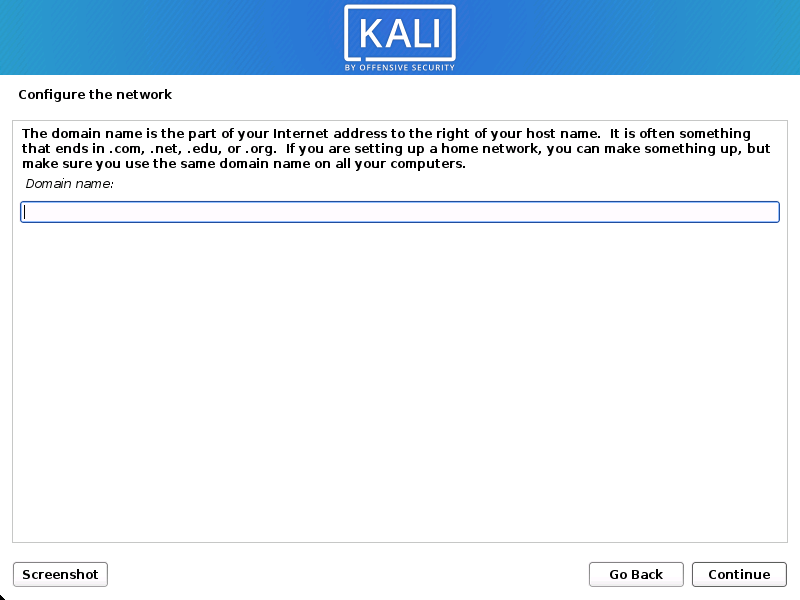
5. You may optionally provide a default domain name for this system to use (values may be pulled in from DHCP or if there is an existing operating systems pre-existing).
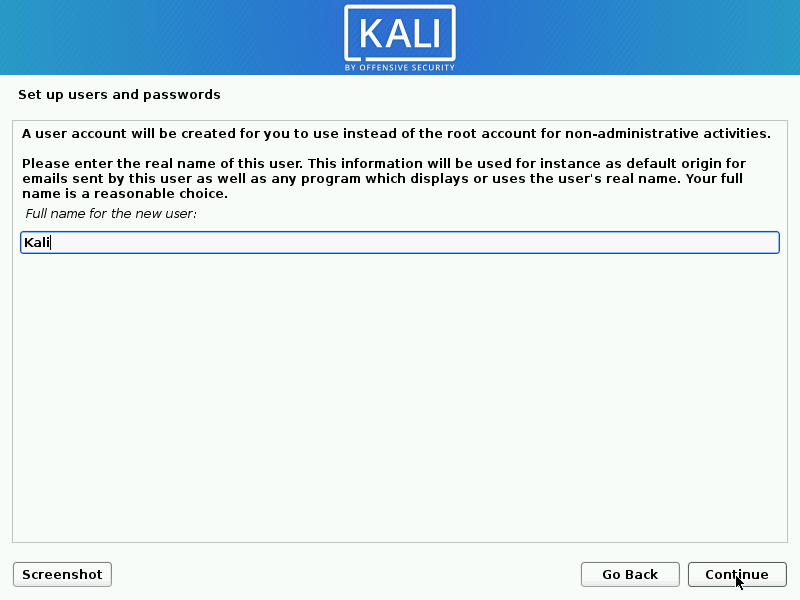
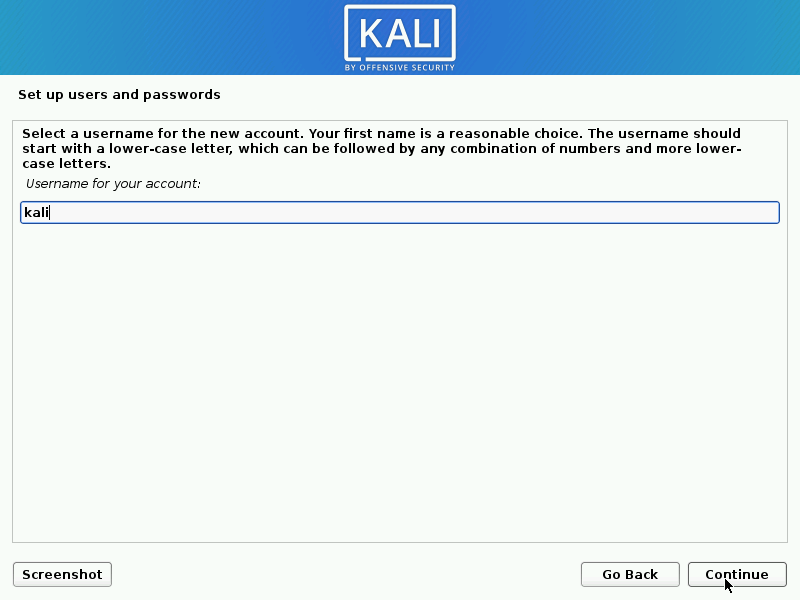
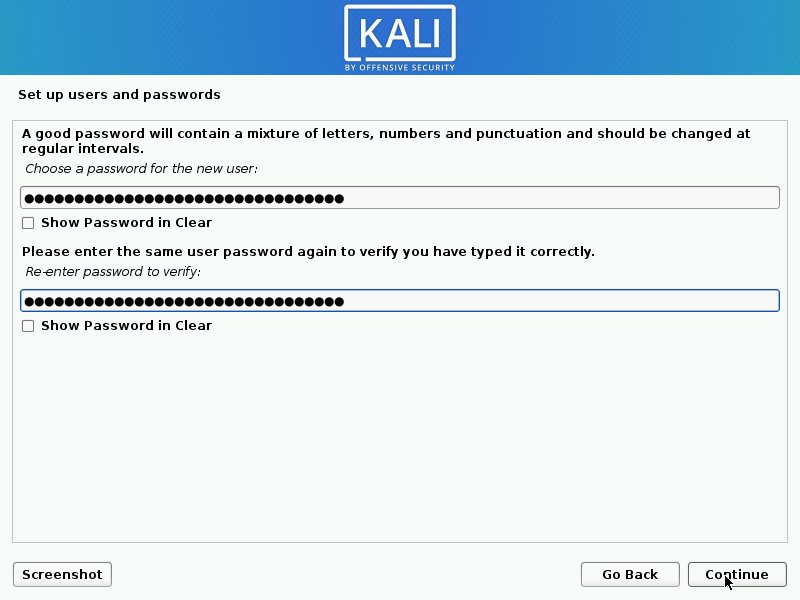
6. Next, create the user account for the system (Full name, username and a strong password).
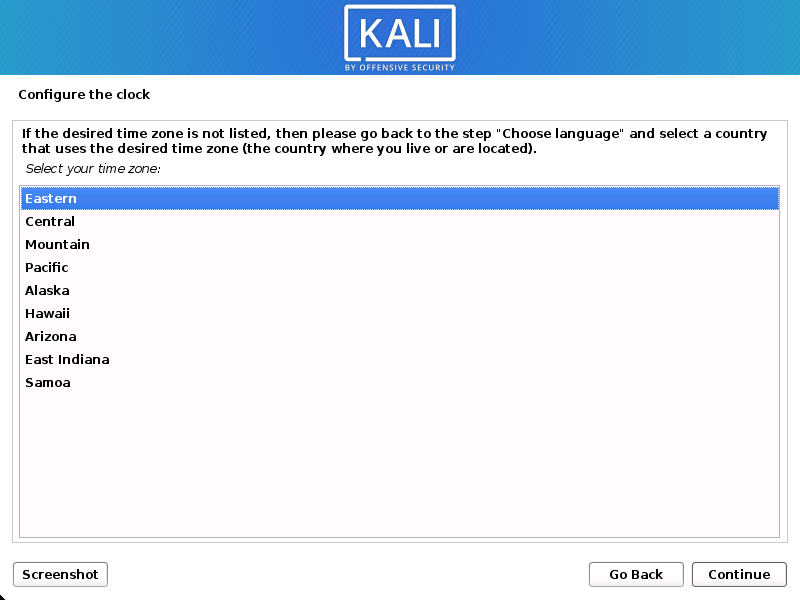
7. Next, set your time zone.
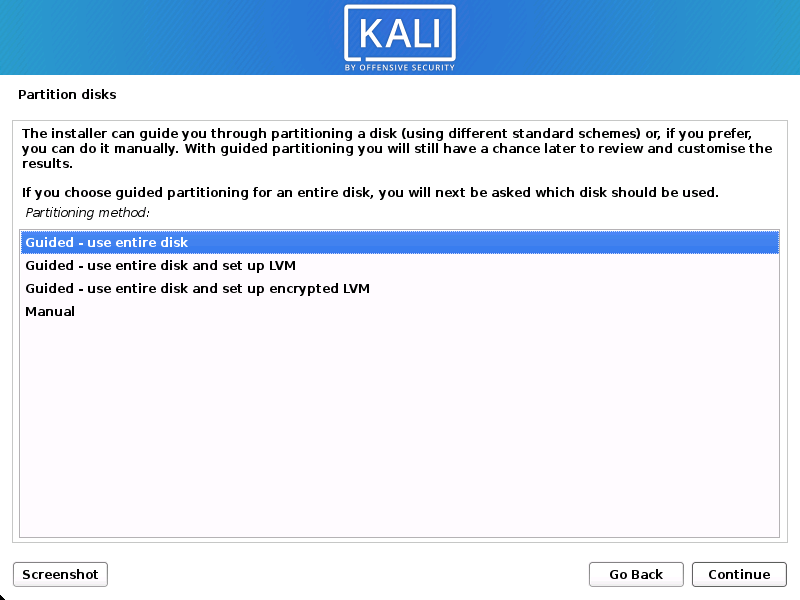
8. The installer will now probe your disks and offer you various choices, depending on the setup.
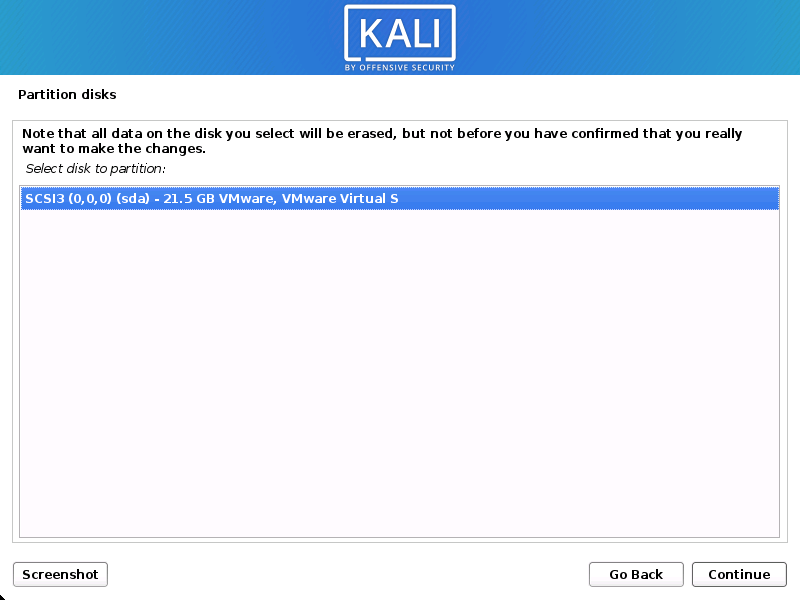
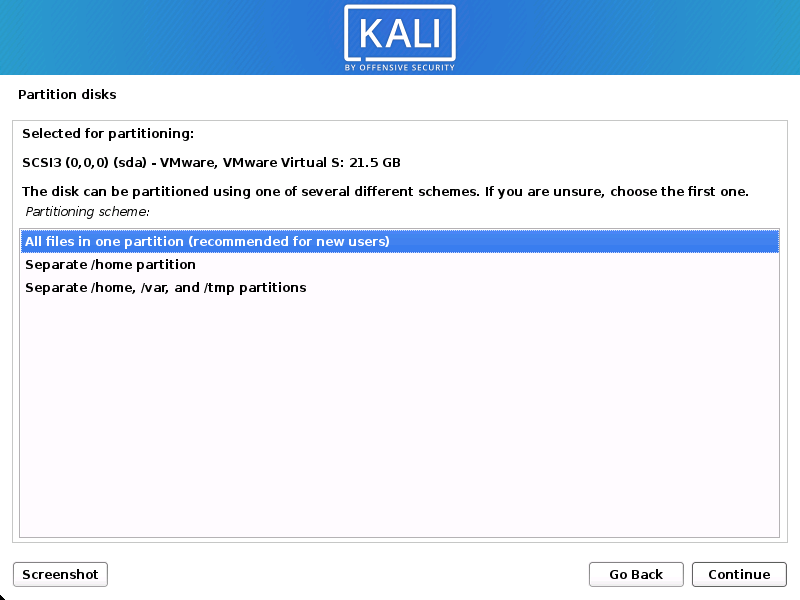
9. Select the disk to be partitioned.
10. Depending on your needs, you can choose to keep all your files in a single partition - the default - or to have separate partitions for one or more of the top-level directories.
If you’re not sure which you want, you want “All files in one partition”.
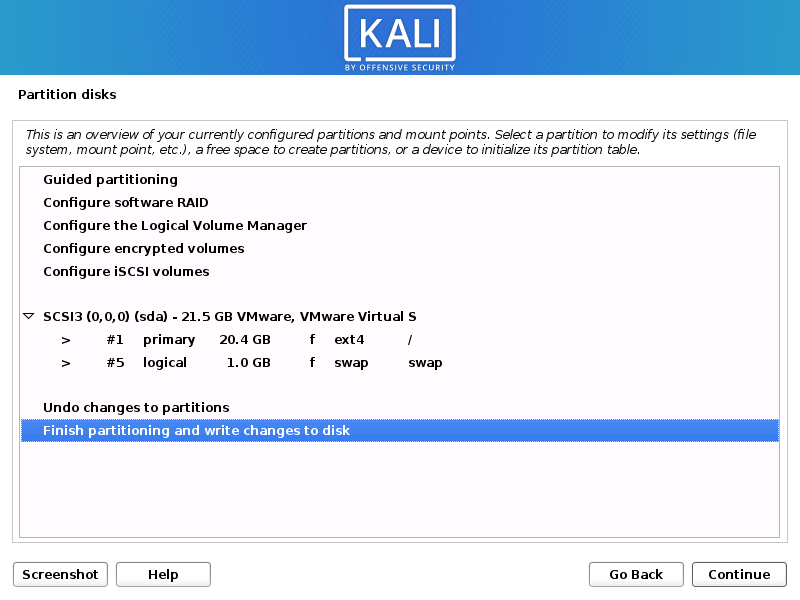
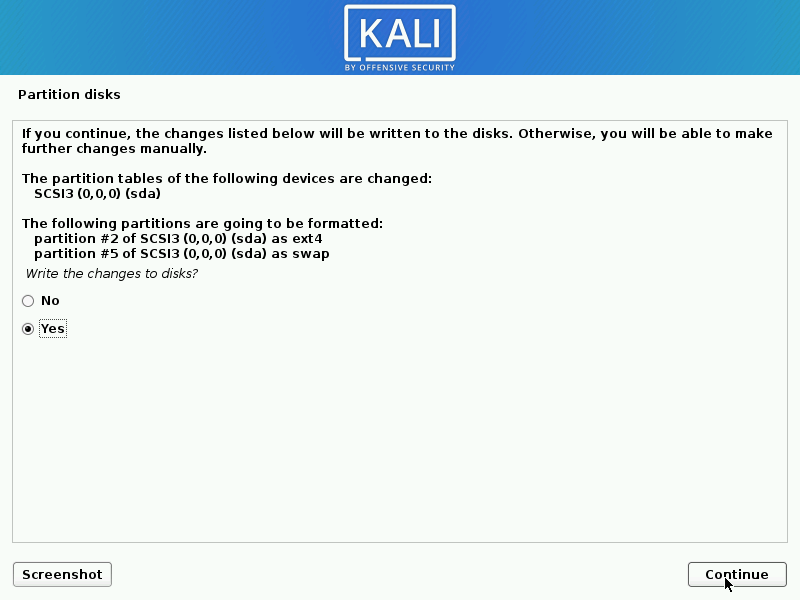
11. Next, you’ll have one last chance to review your disk configuration before the installer makes irreversible changes. After you click Continue, the installer will go to work and you’ll have an almost finished installation.
If enabled in the previous step, Kali Linux will now start to perform a secure wipe of the hard disk, before asking you for a LVM password.
Please be sure a strong password is used, or else you will be prompted with a weak passphrase warning.
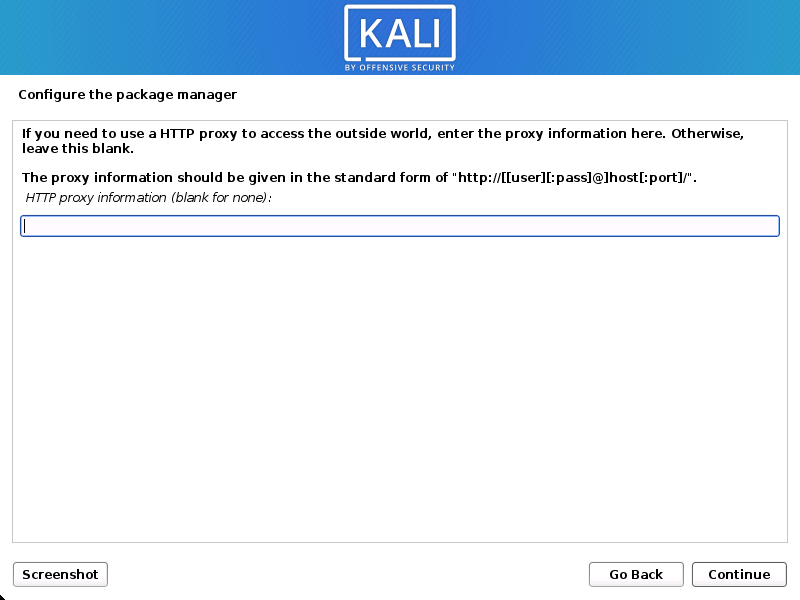
12. Kali Linux uses a central repository to distribute applications. You’ll need to enter any appropriate proxy information as needed.
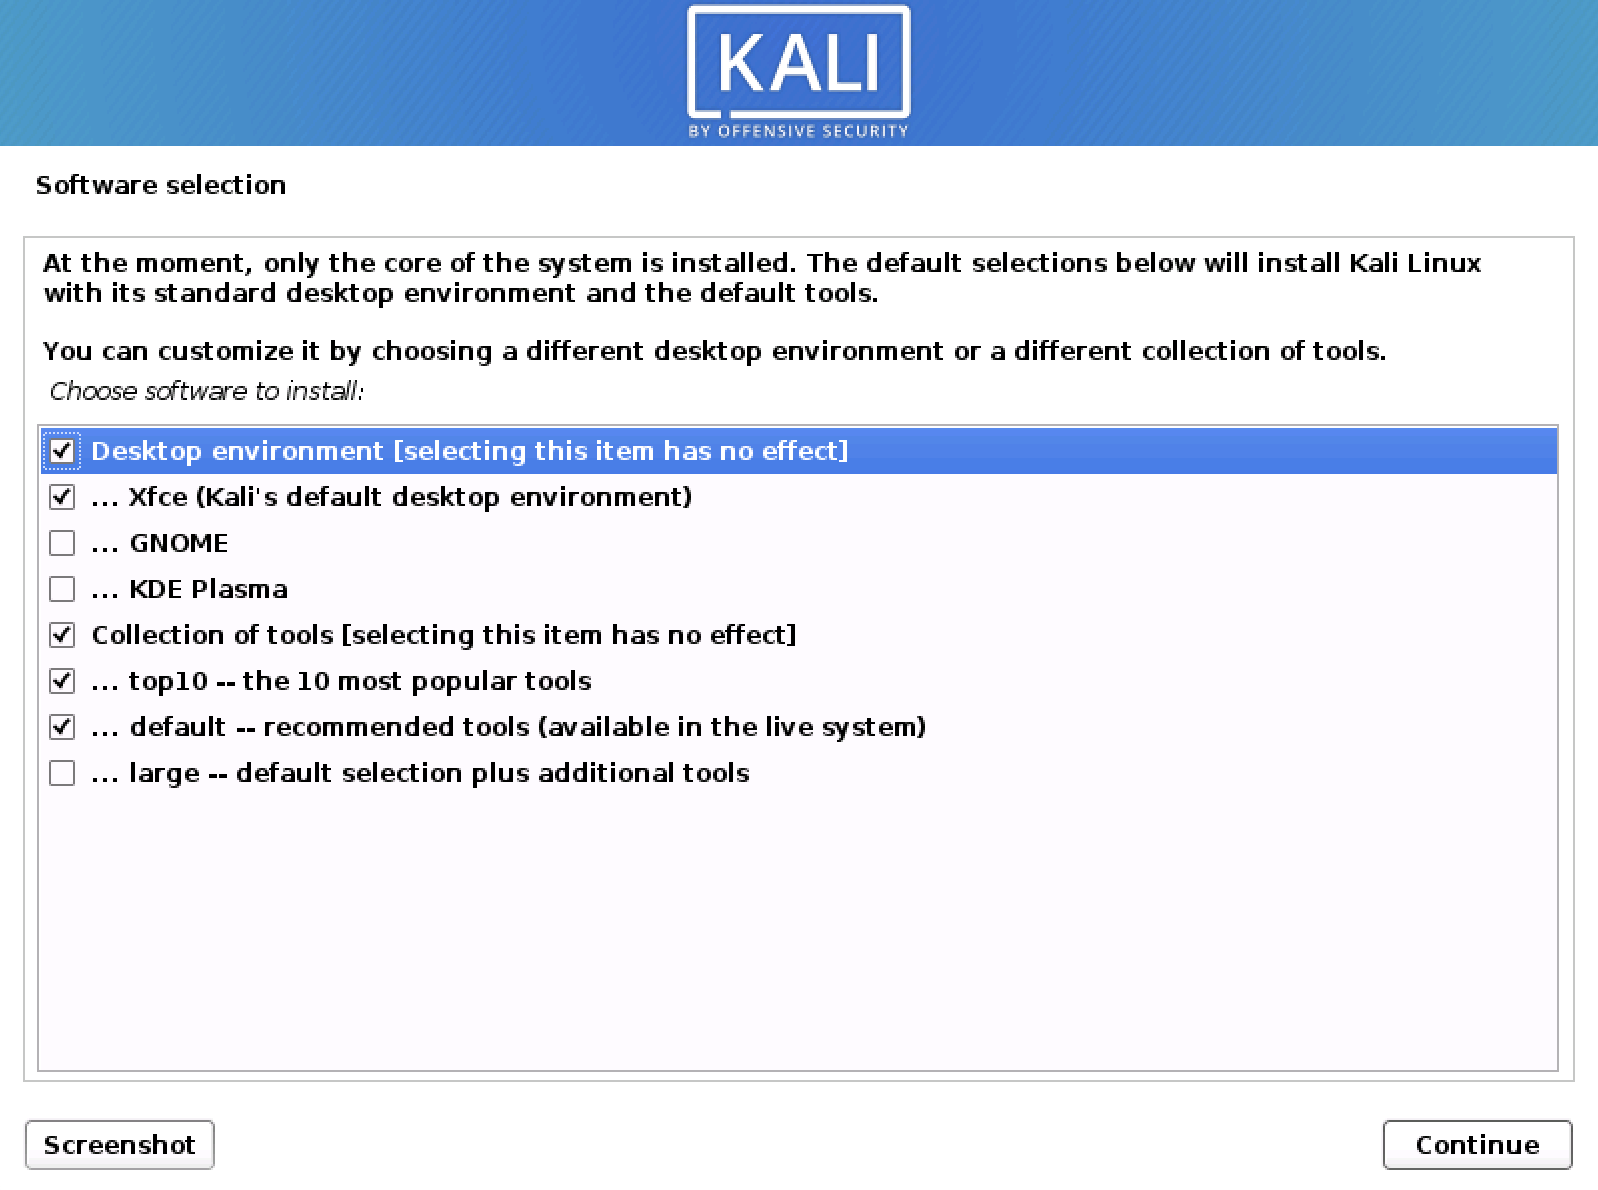
13. Next you can select which metapackages you would like to install. The default selections will install a standard Kali Linux system and you don’t really have to change anything here.
Please refer to this guide if you prefer to change the default selections.
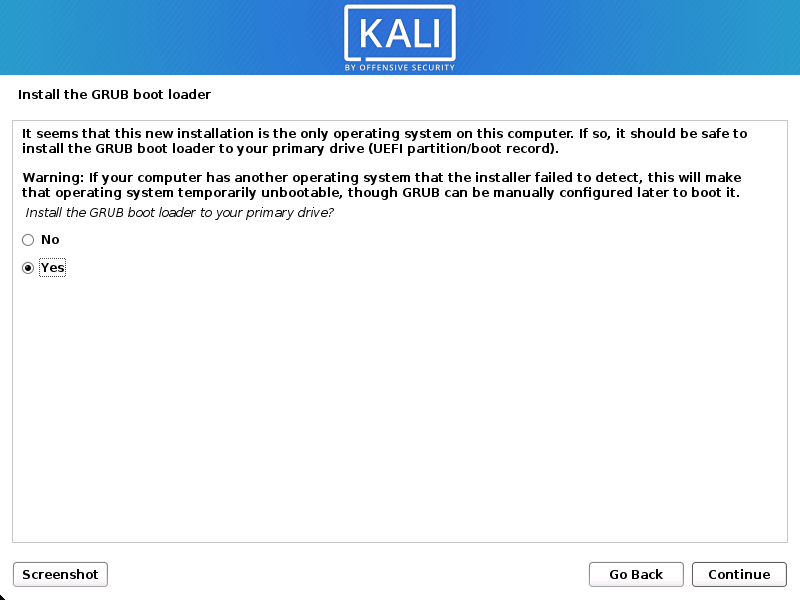
14. Next confirm to install the GRUB boot loader.
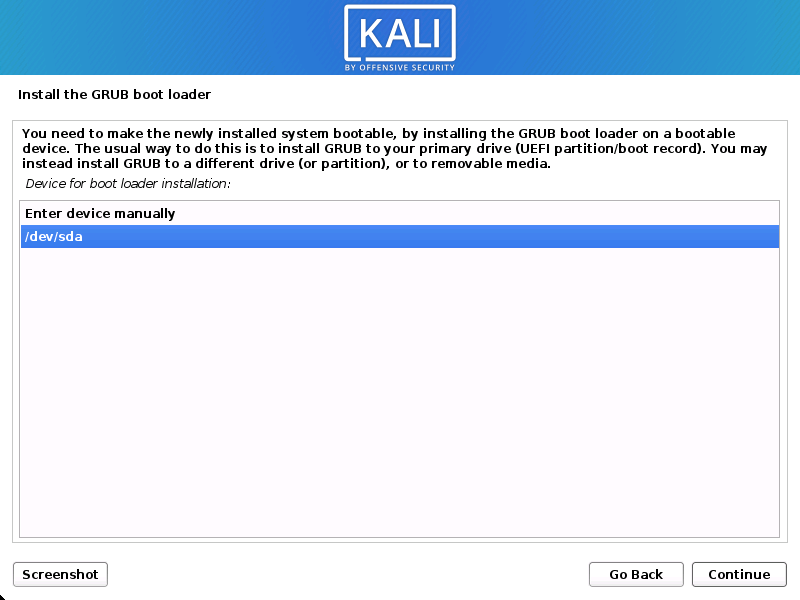
15. Select the hard drive to install the GRUB bootloader in (it does not by default select any drive).
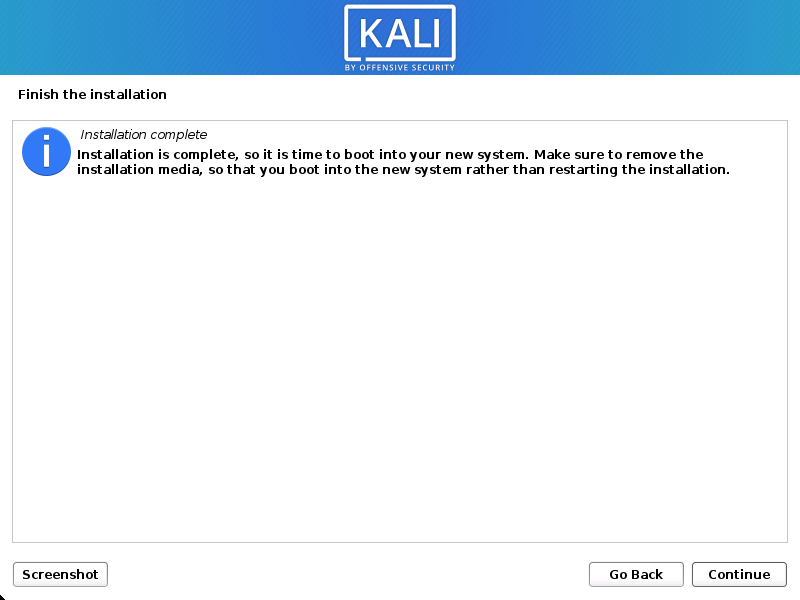
16. Finally, click Continue to reboot into your new Kali Linux installation.
Now that you’ve completed installing Kali Linux, it’s time to customize your system Reboot.
Subscribe to Learn Programming 👇
Thanks for visit my Page.


Comments
Post a Comment